In this Photoshop tutorial, you'll learn how to create an urban filter in Photoshop. This effect is great for night time city photography. As complex as it looks, this effect is created from only three layers.
Step 1
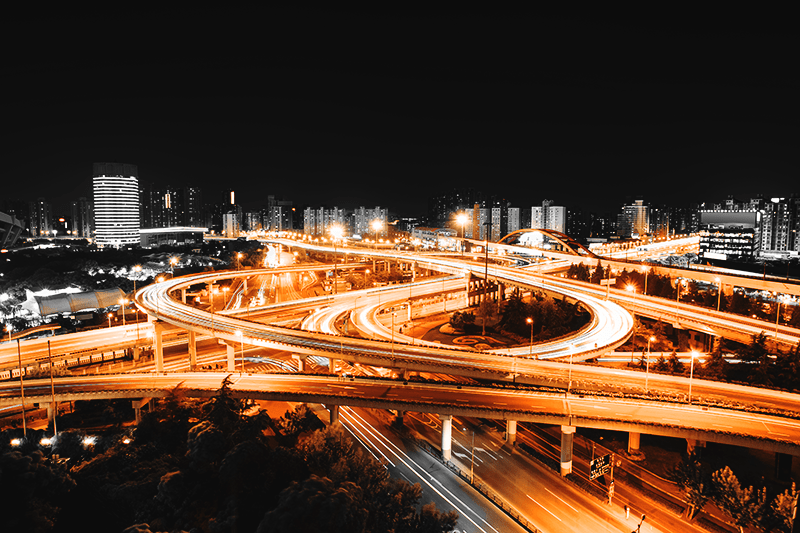
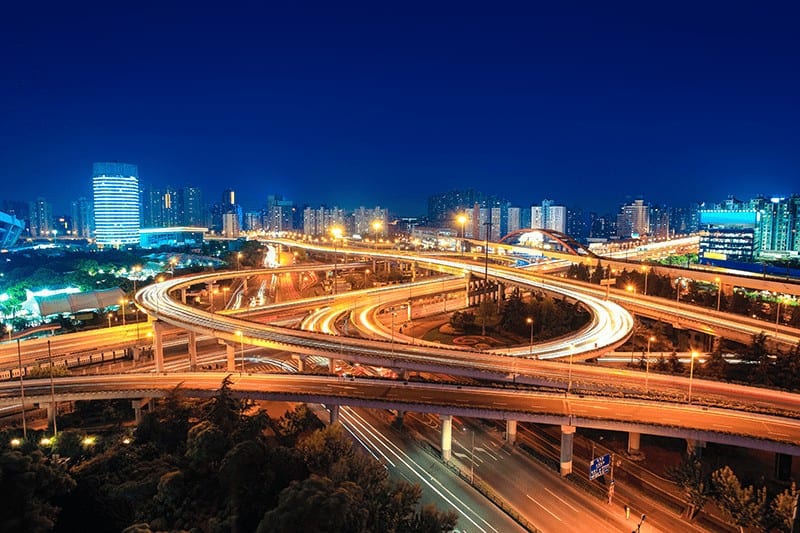
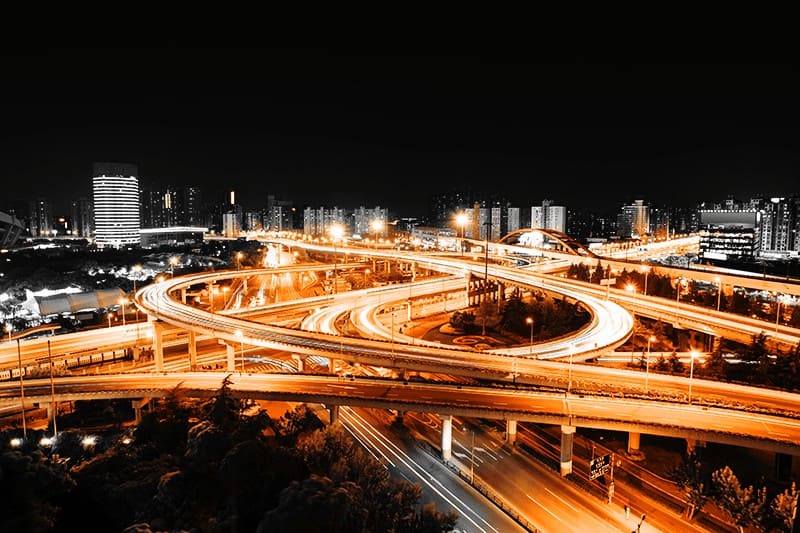
Open your photo into Adobe Photoshop. Here is the photo that we'll be starting with. This tutorial works best with photos of cityscapes at night time.
Step 2
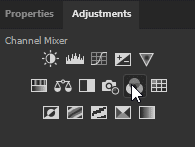
In the Adjustments panel (Window > Adjustments), click on the Channel Mixer icon. We'll be using this adjustment to shift the colors into two primary colors.
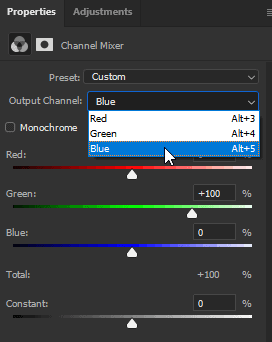
In the properties, click on the Output channel and select the blue channel. Set the Green to +100% and the Blue to 0%. This setting will overwrite the blue channel in your photo with a green channel.
Note: If you don't see the Properties panel, you can open it by going to Window > Properties.
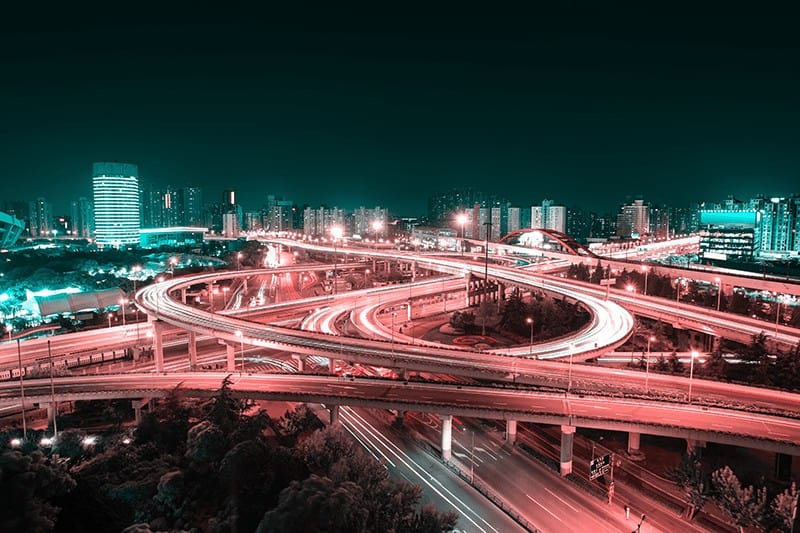
Here's how the image looks like after the Channel Mixer settings.
Step 3
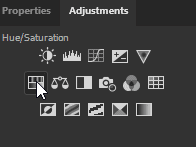
Next, go to the Adjustments panel (Window > Adjustments) and add a Hue/Saturation layer.
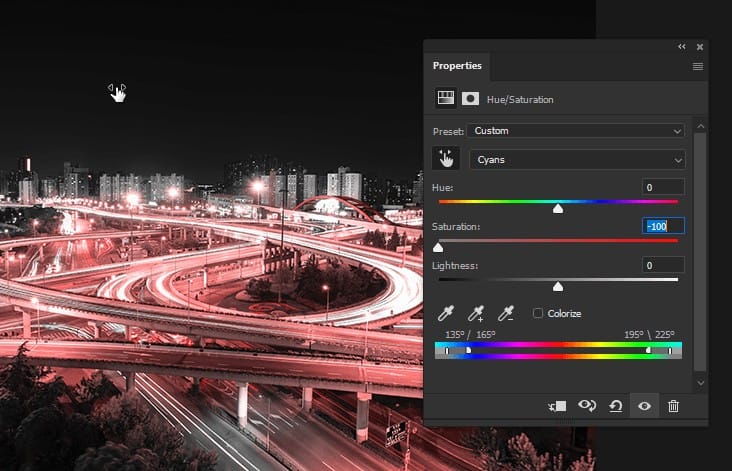
In the properties, click on the targeted adjustment tool.
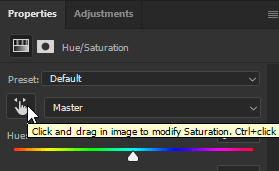
Click on the teals in your photo and drag it towards the left. This should desaturate the teals giving you an nice black and red look. You can also just go to the Cyans from the dropdown menu and set the saturation to -100.
Step 4
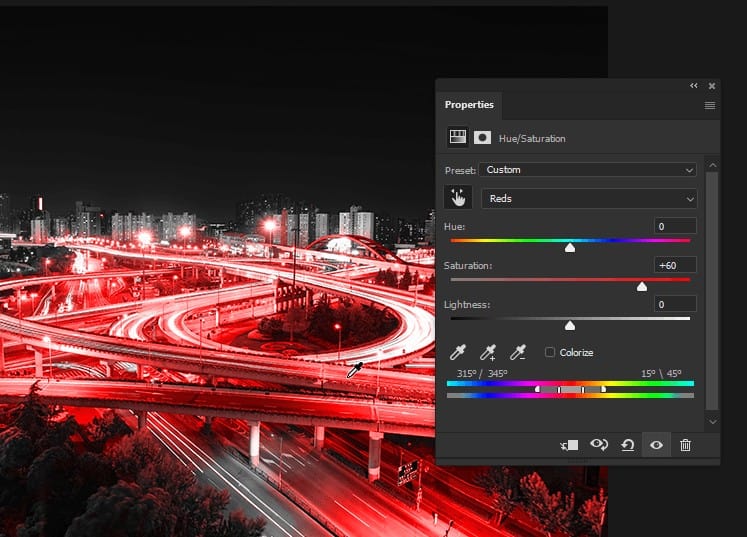
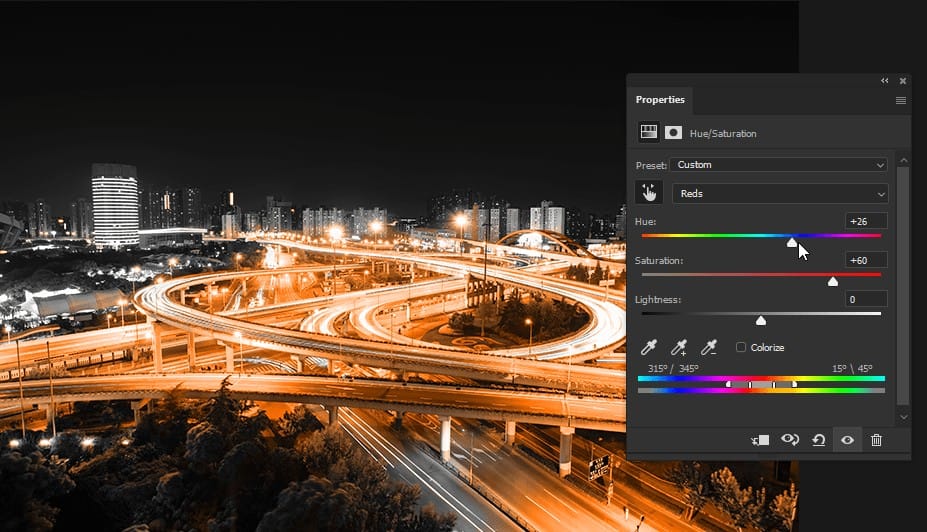
Next, click on the reds in your photo and drag towards the right. This will increase the saturation of the reds. You can also go to the Reds from the dropdown menu and increase the saturation.
Step 5
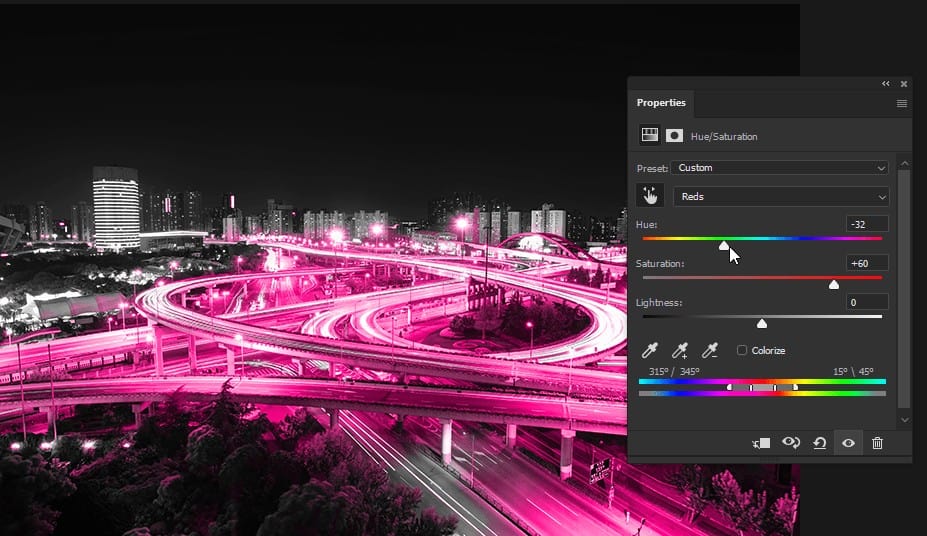
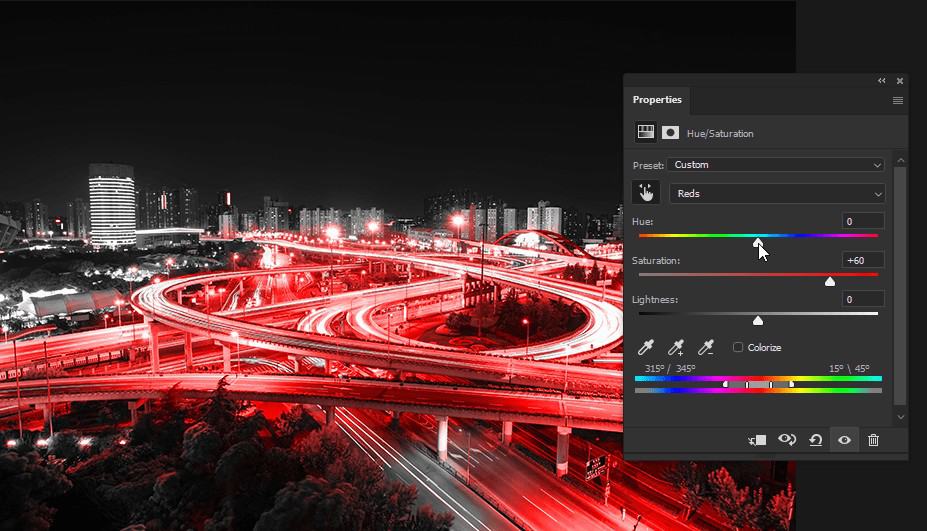
Now adjust the Hue setting. You can keep it red by doing nothing, move it towards the right for orange/yellow, or left for magenta/purple.
Step 6
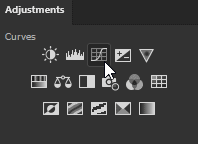
To finish off the effect, we'll use the Curves adjustment to increase the contrast and give it a crushed black look.
In the Adjustments panel, add a Curves layer.
For the curves setting, start by adding a point in the middle of the grid.

Next, add a point between the first and second points and drag down. This will create an S-curve that will increase the contrast of your photo.

Here's what the image looks like so far.
Step 7
For a crushed/faded look, drag the bottom-left point towards the upper-right.

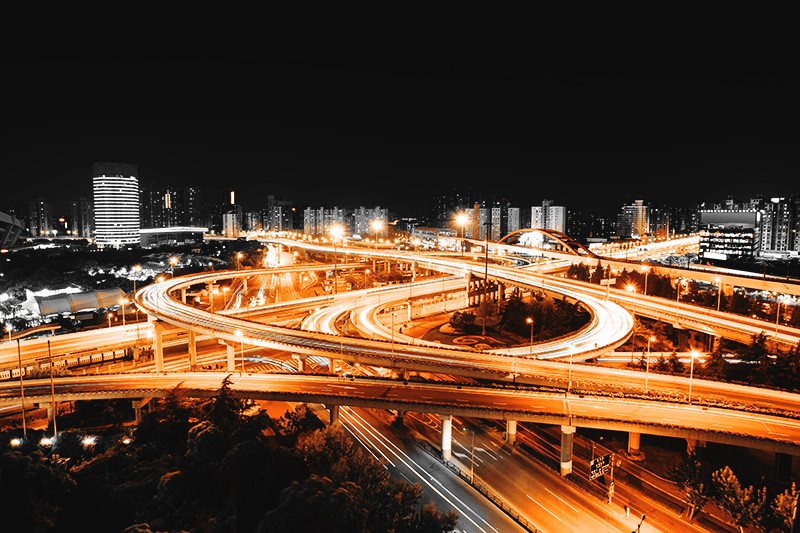
Final Results
You're done! Thank you for reading this Photoshop tutorial. This effect can be used to create many different color combinations and effects. The Channel Mixer is the perfect tool for creating a two-color image that can then be easily manipulated with the Hue/Saturation adjustment.